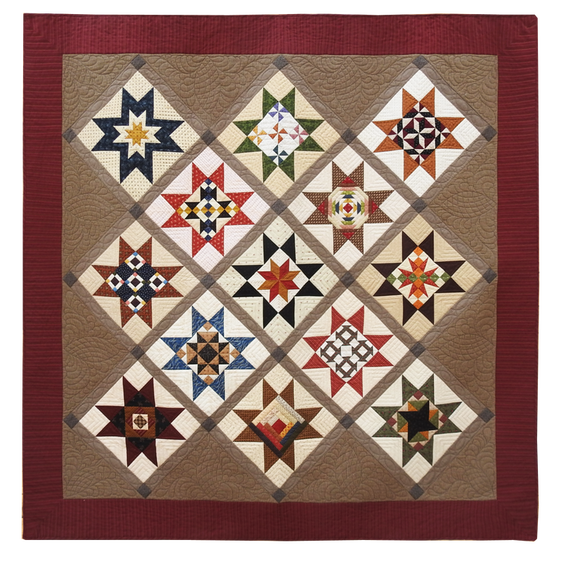
Looking for a way to step it up and find new and exciting ways to create?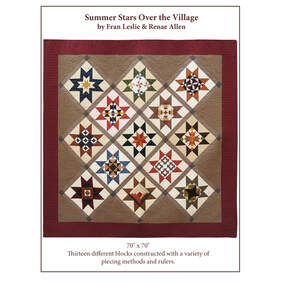 Summer Stars Over the Village is a great solution! Our new Summer Stars Over the Village has 13 six inch blocks, each framed in saw tooth stars finishing at 12". Setting the stars on point with sashing, corner posts, and setting triangles makes a 70" x 70" throw. Last summer I teamed up with Fran Leslie, owner of Village Dry Goods, for a summer block of the week. I know - - - what were we thinking? Fran designed the block and then we cut a lot of kits (thank goodness for the Village gals), wrote the pattern, did weekly store demonstrations and posted You Tube tutorials. Yes, we were busy! Fran is an expert at tips, tools and techniques. Summer Stars Over the Village was designed to build new skills and improve old skills. Our directions include both traditional piecing and ruler/template piecing. Some blocks also have paper piecing templates. Each video is filled with tips that make for better piecing. Check out Village Dry Goods You Tube Channel and find 13 videos for the summer block of the week. Learn out to use those rulers that are in your drawer or on the rack at the local shop. Don't panic - you don't have to have all the rulers we suggest because we have traditional piecing instructions included. However, I have to admit that I love using the rulers. Summer Stars Over the Village is a great value ($20). It is a 20 page pattern printed single side with color pictures of each block. It even has fabric measurements for every piece in every block and the finished quilt on the back page of the pattern. It is great for individuals, groups of friends, guilds or shops as a block of the month or maybe even a block of the week. (The block of the week is only for the courageous or crazy.) And yes, it is available through me or at Checker for wholesale customers at wholesale pricing.
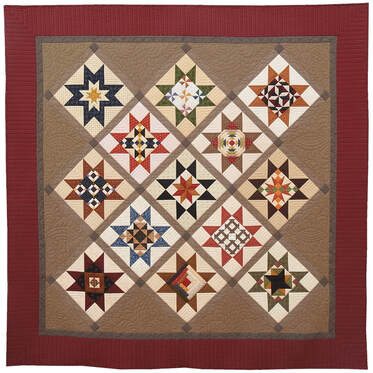
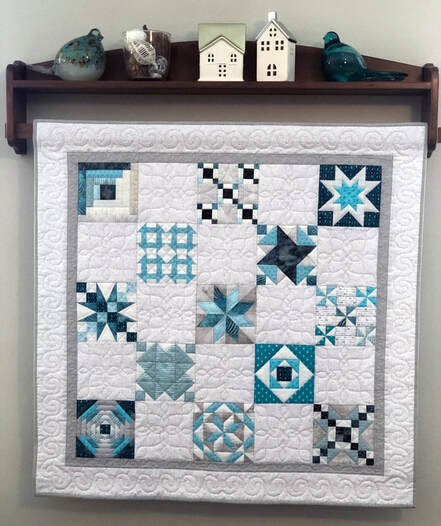
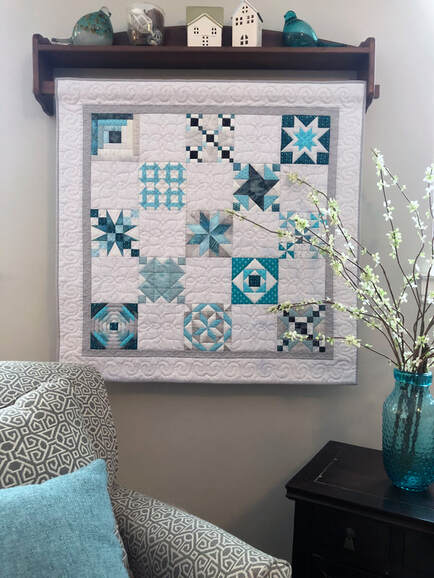
Variations We used neutral background, sashing, and corner posts so the blocks would pop. It obviously doesn't have to be Civil War prints. This pattern is very "stash friendly". I added an inside border (same fabric as the corner posts) to the quilt below and increased the size of the outside border making the quilt a few inches larger. One of our quilters sewed a border between the setting triangles and the stop border out of the sashing fabric. It "floated" the inside of the quilt. I loved the look! The outside border is a stripe so we mitered the corners but gave measurements for straight borders as well. Same inside blocks - very different quilt My daughter had a quilt rack without a quilt hanging on it. That is not okay. I pieced the 6" blocks without the stars to make her a birthday quilt. The blue is her new accent color in her family room. I used 6" squares in between the blocks, added a stop border and an outside border. I quilted my Big Loops 5.75" stencil in the plain blocks. Not sure what I will do when she changes accent colors again - - - that is why the rack was empty. Not sure what I will do when she changes accent colors again - - - that is why the rack was empty.
2 Comments
|
Archives
January 2020
Categories |
|
RGA Design LLC - Renae Allen
Copyright © 2019 |
|


 RSS Feed