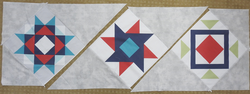
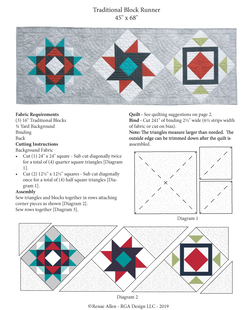
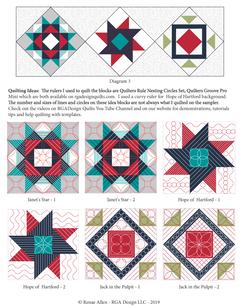
Pattern for Traditional Blocks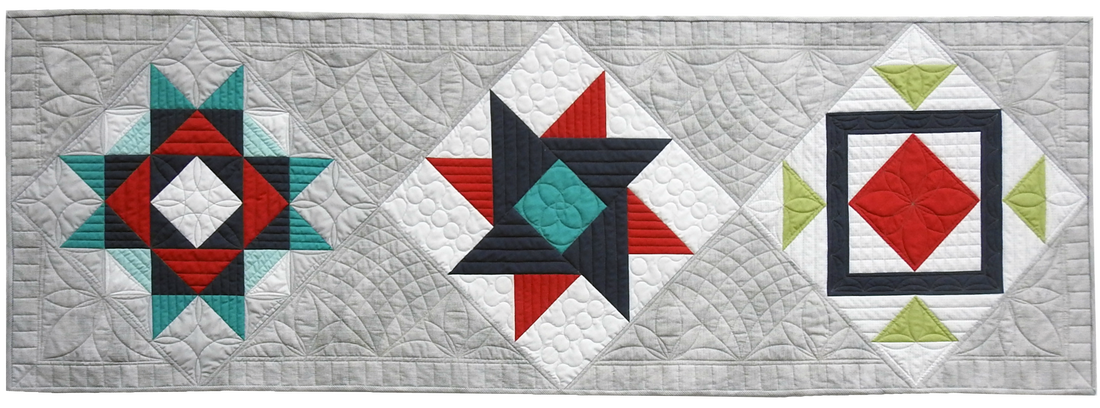 Free Projects & PatternsBlocks - Pattern - Assembly This post is one idea of what to do with our printed traditional blocks. I chose to use Janet's Star, Jack in the Pulpit, and Hope of Hartford and a gray tiny patterned print for the background. The pattern is under the free projects and patterns tab or click here.
 I cut out all the pieces and then placed the pieces in order. This helped to sew the correct triangle to the correct side of each block. It's easy to get confused even when some pieces are already assembled! 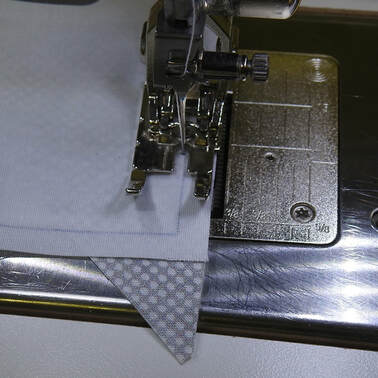 I stitched a needle width on the inside of the printed line so you can't see the printed line on the front. 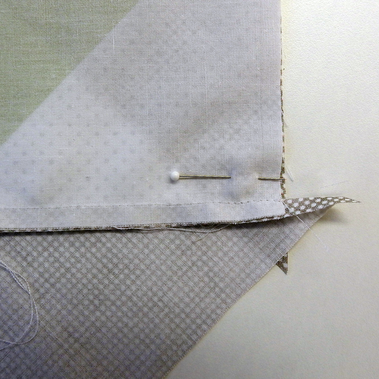 The triangles are cut larger than needed but that makes it much easier to sew. The outside seam allowance is bigger than 1/4" and is trimmed down after the quilt is sewn together. 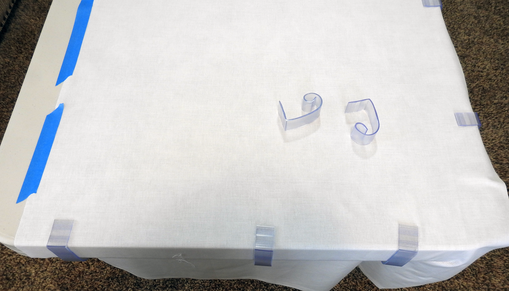 Layer - Pin Baste My favorite way to anchor layers is to use the tried and true pin basting method. Here I have attached the quilt back, right side down, to a Lifetime table using Super Multi Basting Clips and masking tape. Having the back taut prevents pleats on the back of the quilt. 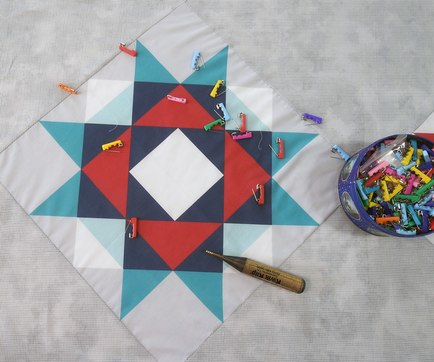 I use #1 safety pins with Quilters Delight Pin Clips and the Kwik Klip tool to secure the pins. 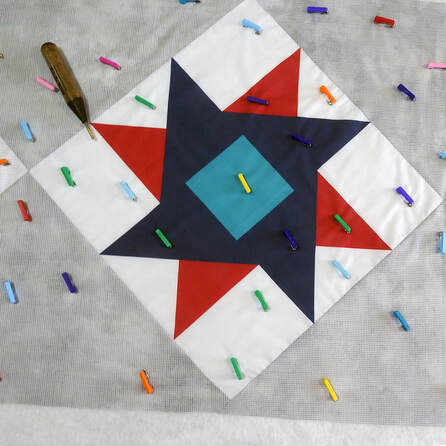 I usually place pins about 4 or 5 inches apart. The pins sometimes get in the way of rulers but they can be moved easily. After I stitch in the ditch, I remove a lot of the pins. Quilt as Desired
Rulers - Rulers - Rulers Now for the fun part - - - deciding what to quilt where. I used my Nested Circles Quilters Rule Nested Circle Set and my Quilters Groove Pro Mini for quilting the blocks. Each block and the background will be on the next few blogs and I will post video tutorials on our Quilting Traditional Blocks with Rulers page and our RGA Design Quilts You Tube channel.
0 Comments
|
Archives
January 2020
Categories |

 RSS Feed